Want to Create a sidebar on your WordPress website but can’t find the option in WordPress 5.9? We’ll help you out.
With the progress of WordPress 5.9, a lot has changed, rather upgraded. With a major focus on the Gutenberg blocks and intuitiveness, WordPress has made customization simple and better across the whole site and not limited to pages and posts.
With this upgradation things like site editor, global styles, post/page/site blocks, query block, navigation block, templates, and block themes have been introduced.
Gutena is one such block based WordPress theme that is different from the legacy WordPress theme and has functionality and customization options async with the WordPress Full Site Editing standard.
In this article, we have discussed how you can create a sidebar using the gutena block theme. Our motive is to create a sidebar section for the blog pages and individual posts. Following are the steps depicting the same:
Step 1: Create a Blog Page
We would be creating a Blog Page first. So, for that first go to Pages > Add New and Create a new Blog Page. If you don’t want to create a new blog page and continue with the existing page then you can skip this step.
I Would be creating a new page with the name “Blog Page”
Step 2: Customize the Blog Page with Side Bar
Open your blog page, click on the Block Inserter (the Big Blue Plus Icon on the top-left) > Patterns > Click Explore > Gutena Pages > Scroll to the bottom and select any page, for this demonstration I’ll be choosing the “Blog Page with above post-image below post-content” page.
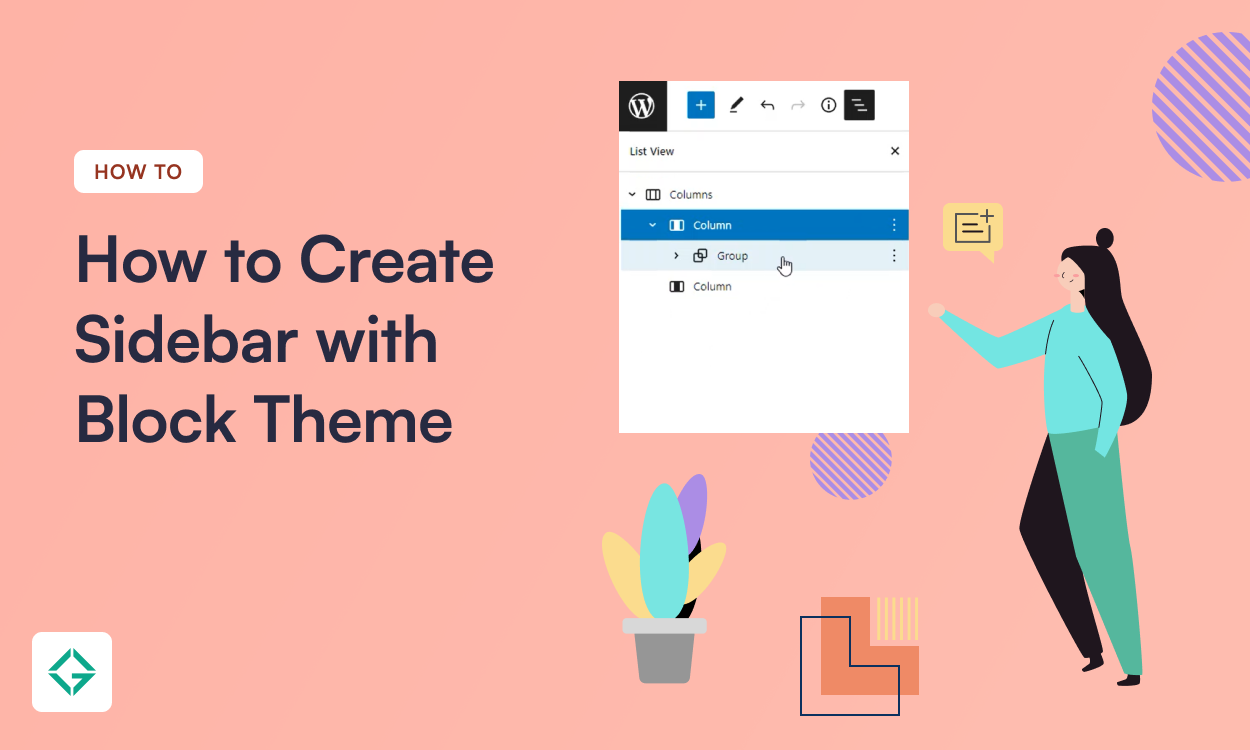
Once, You have selected the required gutena page, click on the List View Icon (three vertical lines) found on the top. Click on the Options for Group Block (three vertical dots) and click “Insert Before”.
A new paragraph gets added, however, we want to add a 70/30 column. For that type “/columns” in the paragraph and click Enter. Now select the 70/30 column variation where we would be utilizing the 70 as the Blog Preview and 30 for adding widgets.
Now, drag the whole query loop group and drop it in between the two columns. Once you drop the group the page gets divided into two columns one has the blog preview and the other remains blank.
Now in the blank part, we need to add any widget we want, as for this demonstration I’ll be adding a calendar widget. For that just click on the blank column space and select the widget. After this, hit the Update button.
After making these changes if all your blog posts aren’t visible then you need to perform one extra step. Click on the options for the group block that you just moved between the columns > Click on Query Loop and open the block settings, block settings can be found by clicking the gear icon on the top-right corner and turning off the “inherit query from template” option. After this, hit the Update button.
If your recent changes aren’t reflected on the page make sure to check if you are using the proper template. For that go to the gear icon on the top right > page > Template and select the page template.
Now, you can beautify the page even further by adding margin, spacing, etc. I’ve added a spacer block just above the calendar block.
Step 3: Customizing Single Blog Posts with Side Bar
You may also want to reflect your individual blog posts with the sidebar but don’t want to edit each page manually which will consume more time. Instead, we can save the design as a template and all the pages will automatically inherit the set format.
For this, go to Appearance > Editor > Templates > and select the default post template named “Single Post”. Click on it and edit the single post template.
We need to perform similar steps i.e click on the list view icon > find “Post Content ”. Once found click on the “post content block options” (3 vertical dots) and click the “Insert Before” button.
A new paragraph gets added, however, we want to add a 70/30 column. For that type “/columns” in the paragraph and click Enter. Now select the 70/30 column variation where we would be utilizing the 70 as the Blog Preview and 30 for adding widgets.
Now, go to the first column and add a paragraph inside it, now add a “Post Content” block inside it. And in the second column, add any widget you like or go with the calendar widget as we did earlier.
Remove the previous Post Content that was present below the columns.
This is what the final post looks like. You can customize it as your like. As this was just a demonstration of creating a sidebar using the gutena block theme hence we didn’t focus much on customizing the blog page and the individual posts.


